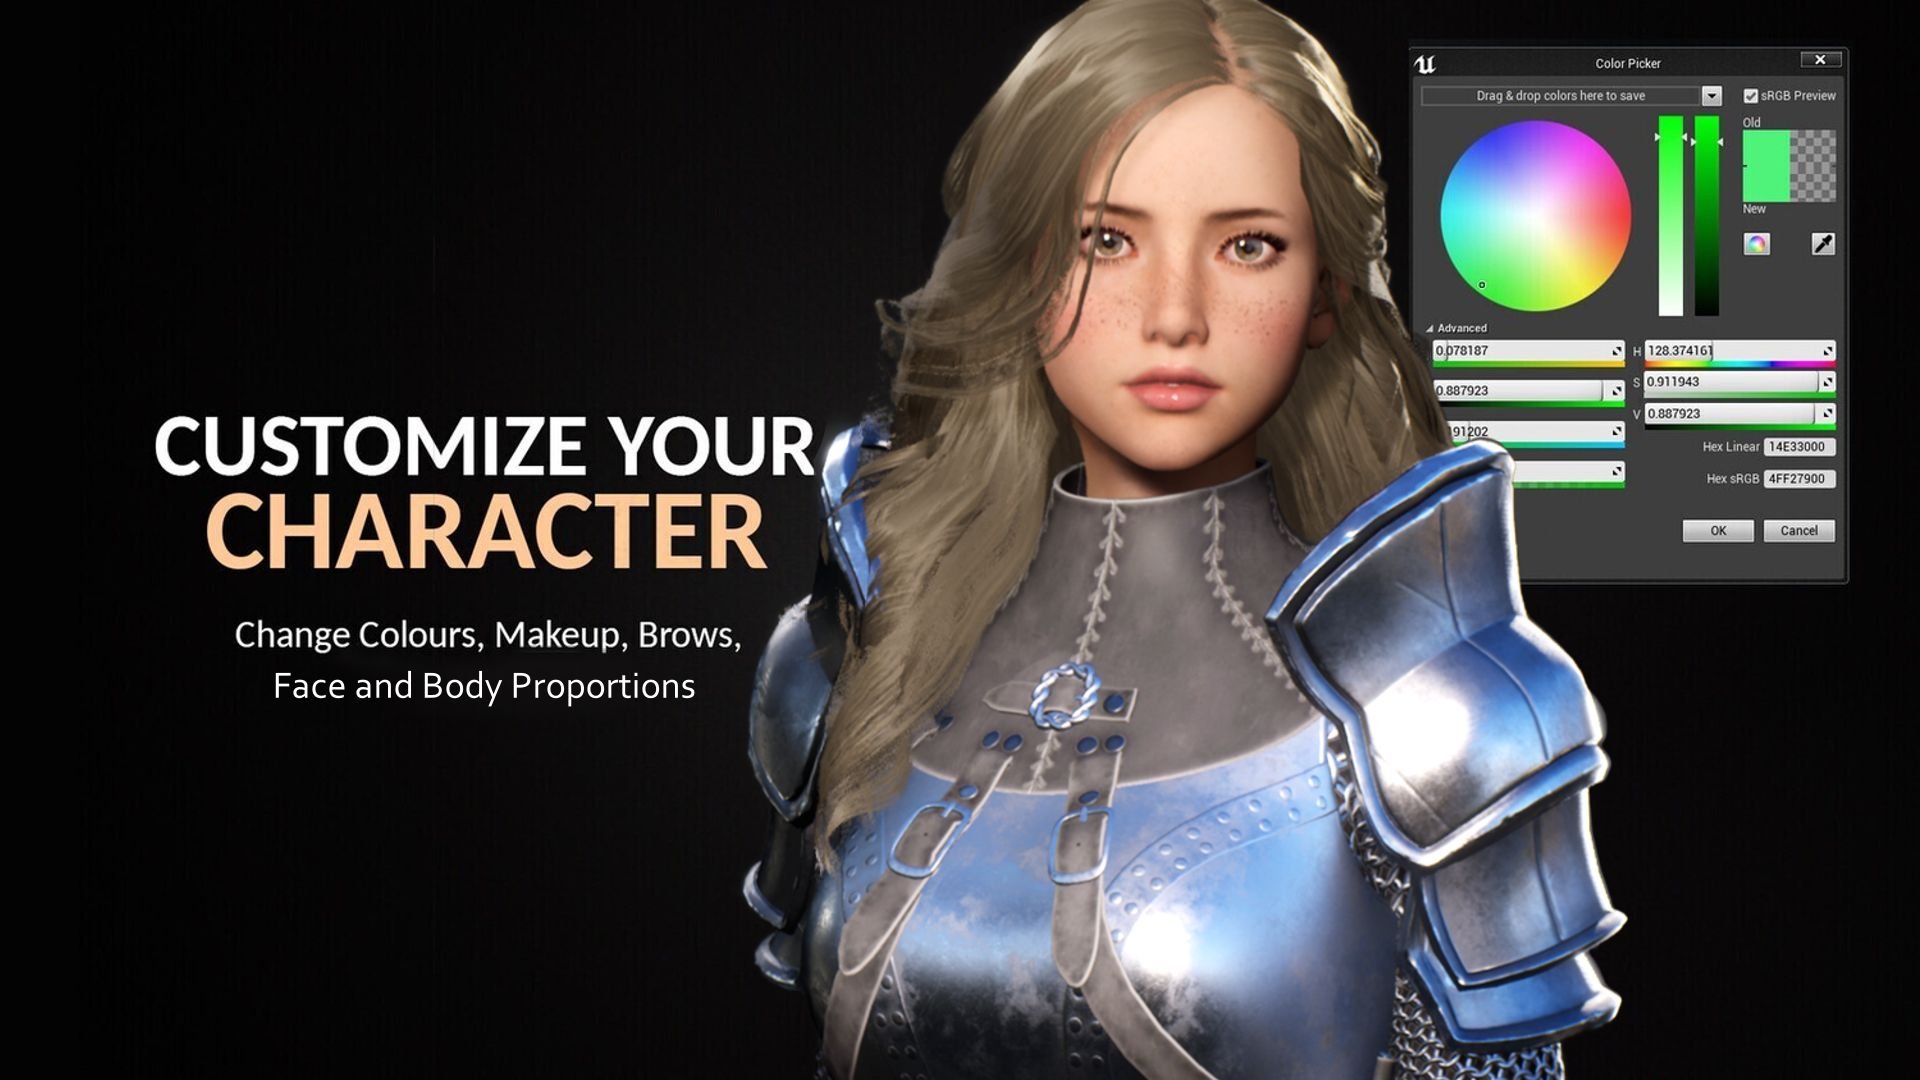
Xandra Character Creator
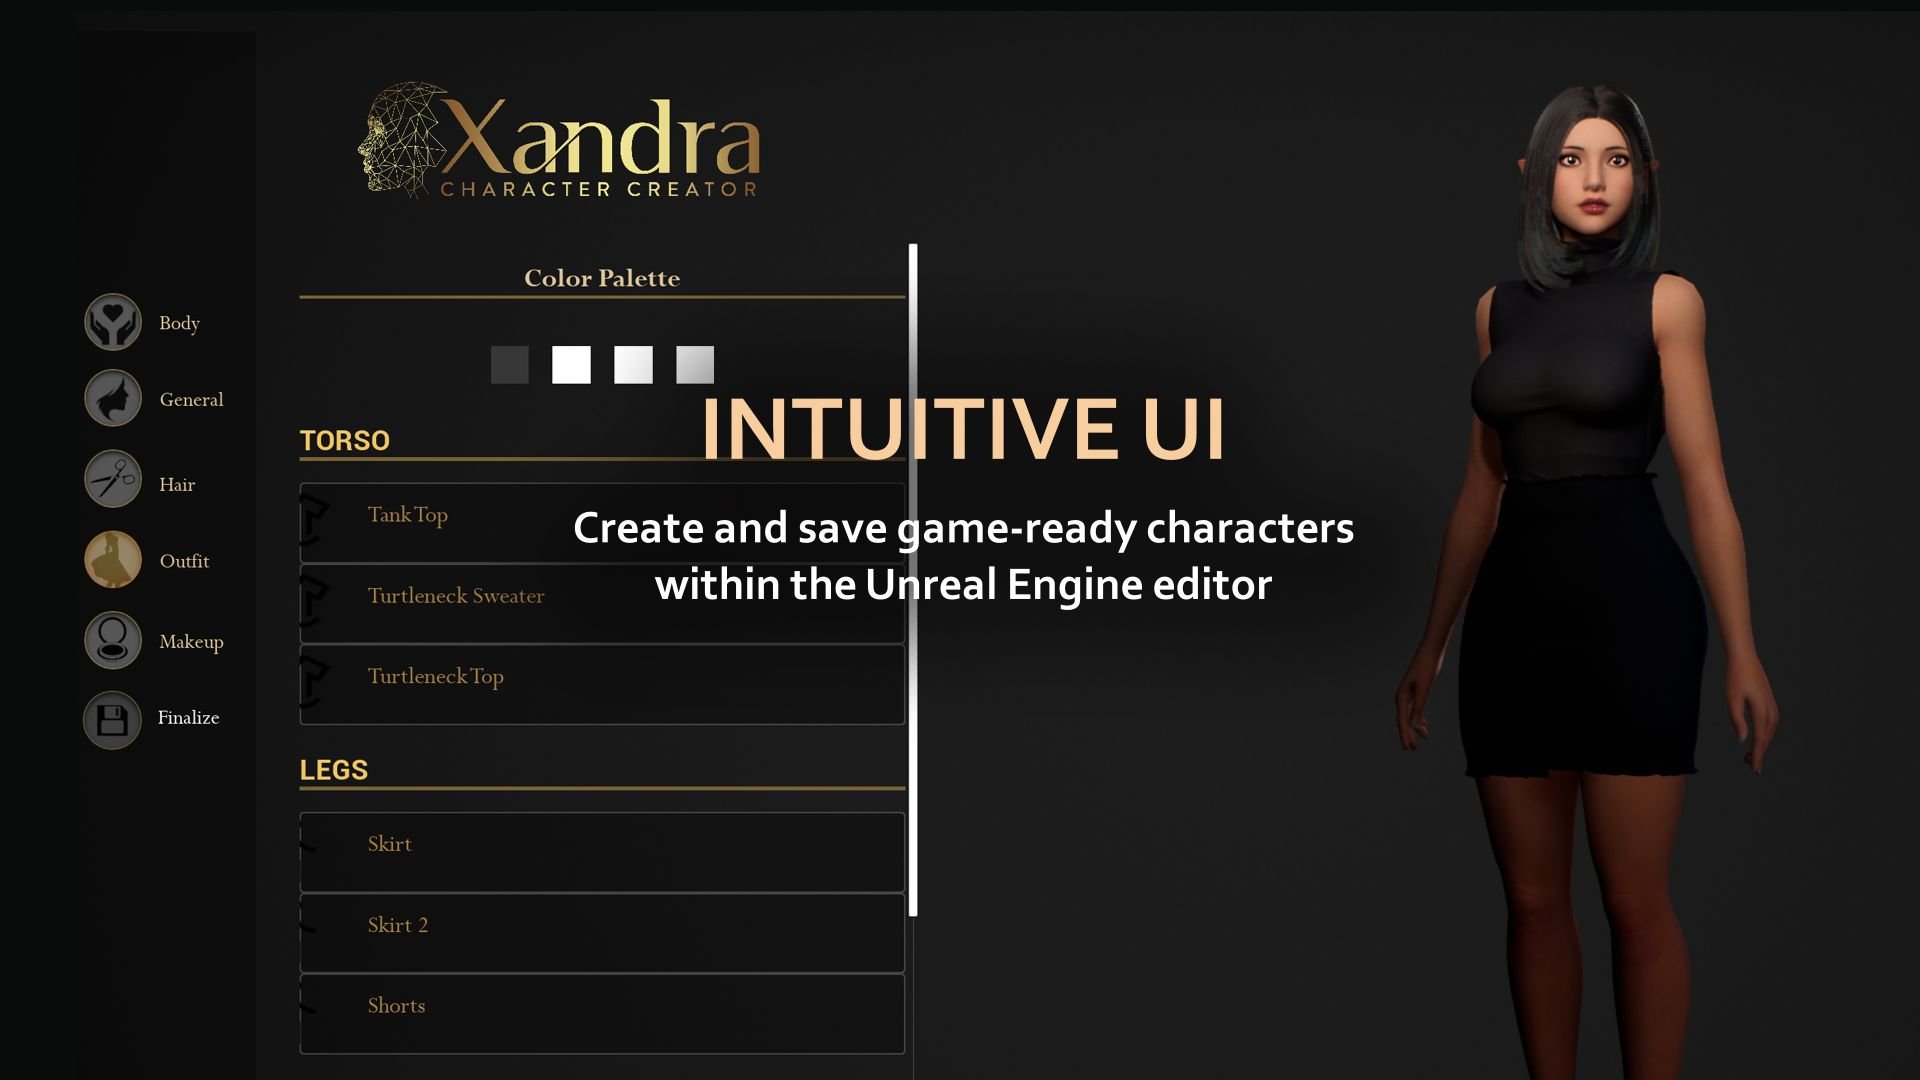
Combine and customize Xandra F2 and M1 modular characters using a new easy and intuitive UI, within the Unreal Engine editor!
The Uncensored Version is Available Here
Getting Started Guide
Before you Start (Important)
If you have the Epic Store plugin version - Install & Setup
These steps are necessary to make the folder structure compatible with other tutorials on this page such as installing other Xandra characters.
Installing Plugin & Migrating the Plugin Content into your Content folder
Install the XandraCharCreator plugin through the Epic Games Launcher (Unreal Engine -> Library -> Vault)
Open your Unreal Engine Project
Install the plugin to your Project by clicking Edit -> Plugins. Search for Xandra Character Creator and tick to install it, then restart your project to load it.
Click Settings in the content browser and ensure Show Engine Content and Show Plugin Content are ticked to access the Character creator content.
Navigate to Engine -> Plugins -> Xandra Character Creator Content
Click and drag the XANDRA folder from Xandra Character Creator Content into your project’s Content folder and select ‘Move Here’.
Be careful as it could overwrite files if you already have XANDRA assets in the project - take a backup of your project first to prevent data loss.

Now your project will be compatible with the rest of these tutorials below.
Otherwise, if you have the Artstation version - Install & Setup
Right click the downloaded uproject and select the Unreal Engine, select Show more options, then Switch Unreal Engine Version and select the exact version you want to use it with.
Run ‘installer.bat’ (new) included in the Artstation download to copy in our pre-built code plugin matching your engine version to the Plugins folder. Enter the Unreal Engine version you are using. We support 4.27, 5.1, 5.2 and 5.3. Then you should be able to open the downloaded uproject.
To add the Xandra Character Creator to your own project, follow Adding Xandra Character Creator to your Existing Project
If you prefer to build the plugin yourself, follow the steps in Building the Plugin Yourself
Table of Contents
Creating Character Appearances
Full Outfits
Adding your own Wardrobe Items
Importing Xandra Characters
Migrating Character Appearances Between Projects
In-Game Player Character Creator
Adding the Character Creator to your Existing Project
A Guide to Editing Our Blueprints (*Page Under Construction)
FAQ/Fixes for Common Issues
Creating Character Appearances
Difficulty: Easy
To create a new Custom Character Appearance, follow these steps:
Open the Character Creator In-Editor scene and click Play

2. Use the available options to customise your character's hair, makeup, body and face.
3. Type a name for your custom appearance (must not contain spaces or special characters) and click Save.
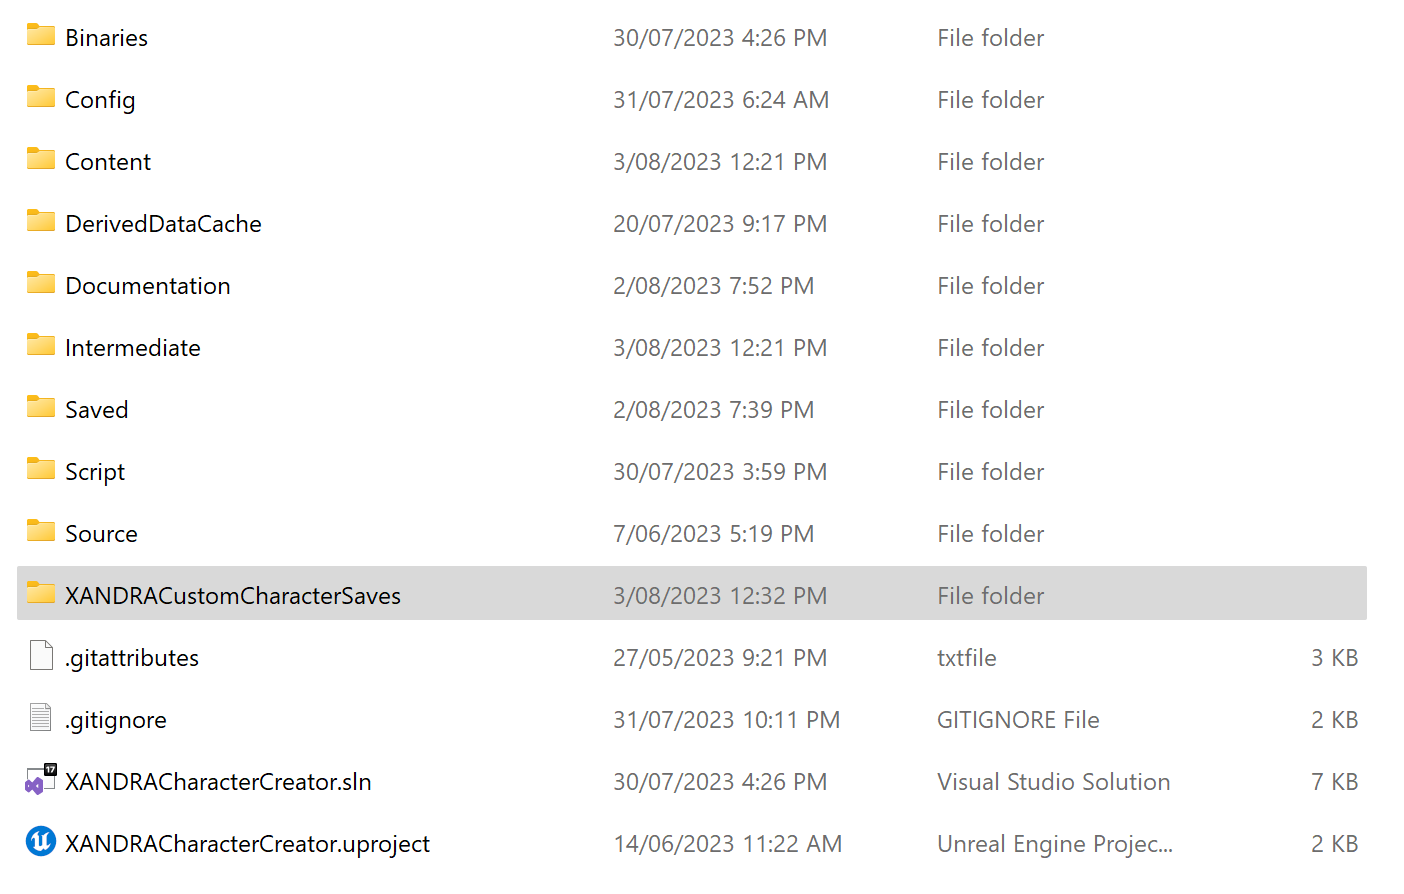
4. A Character Appearance .xchar file will have been created on disk (CustomCharacterFiles folder) and can now be selected as the Appearance for blueprints (see Using Custom Character Appearances).

5. Edit the appearance by selecting it in the drop down, make changes and click save when done.
Using Character Appearances
Difficulty: Easy
To use your Custom Character Appearance in a blueprint follow these steps:
Create an Actor blueprint that inherits from BP_XANDRAGenChar
Select your custom appearance in the Appearance drop down in the Details tab of your BP_XANDRAGenChar.
Use the Actor as desired in your scene

In the Example_CustomEditorCharacters folder, you can find some example blueprints which have had their Appearance set.
Editing Wardrobe Items
Difficulty: Intermediate
The character creator comes with a number of included wardrobe items, and you can make changes to the available items.
(NEW): Switch out entire wardrobes or use multiple wardrobes at once by editing the ActiveWardrobes data table - found at CharacterCreator/WardrobeItems/ActiveWardrobes.
Options such as hairstyles, torsos and legs can be edited by changing the Data Tables in CharacterCreator/WardrobeItems/<Wardrobe Name>
On opening a data table, you can change the names of each item, which mesh or texture it points to, its icon, and which body types it is available for. Keep in mind that meshes may have clipping if you use them on body types they were not designed for.
Ensure that display names are unique, Row Names are not changed once set (as it will invalidate existing characters), and be aware that editing any wardrobe items will change those items on existing characters.
Full Outfits
Full outfits are a feature that allow you to make clothing outfits take up several slots - for example, a body suit that covers the torso and legs - preventing the user from selecting other conflicting outfit items.
To set up a full outfit
Open the FullOutfits data table
Add a row and give it a unique Row Name and DisplayName
Under Items, add the mesh for the outfit with one of the outfit slots (e.g. Torso), and then add an additional empty mesh for every additional slot you want the outfit to cover. For example, following setup is for the Eden dress in the Deluxe edition which covers the Torso and Legs slots.

Expand ‘Available For These Body Types’ and ensure the body type(s) (male, female) that you want the outfit to show up for have been added.
Save and close. The new outfit should now appear in the editor.
Importing Xandra Characters
Difficulty: Intermediate
Follow this guide to import wardrobe items from other Xandra F2 and M1 characters to the character creator.
Adding your own Wardrobe Items
Difficulty: Intermediate
Migrating Character Appearances Between Projects
Difficulty: Intermediate
Character appearances are saved to file in the CustomCharacterFiles directory. This guide will show you how to move them by migrating the character creator system and character files from one project to another.
Before you start, you must understand how the save files work. The .xchar file alone does not contain all the information of the character. The .xchar only references meshes and textures via their name, like so:
Hair: FBob01
FaceMesh: F2_Skye
FullOutfit: FSciFi01
The outfits and meshes themselves such as the ‘FBob01’ hair are stored in the Unreal Engine project, and you’ll need to copy them wherever you copy the .xchar characters.
To migrate characters from Project A to Project B, do the following:
Its VERY STRONGLY recommended you make a backup copy of the target project (Project B) before starting, in case the migrating process overwrites files you wanted to keep. Without a backup there is no way to recover lost files during migration.
If you’ve changed any meshes/wardrobe items in the source project (Project A), follow the steps in Adding or Updating the Character Creator guide to update them in the target project (Project B) so that the character looks the same in both projects.
Copy the files on disk from Project A/CustomCharacterFiles to Project B/CustomCharacterFiles. Ensure you backup any files before overriding them.
Open Project B and confirm the copied characters are available.
If the characters do not look the same, ensure you have migrated any missing or updated wardrobe items from the source project (see Step 2).
If any issues occur during migration, undo by restoring the original backup you made of Project B.


In-Game Player Character Creator
Difficulty: Advanced
While the XANDRA Character Creator is a utility for creating blueprint characters in the Editor, this demo instead re-purposes the system for creating a player character directly within a game such as a RPG. It provides some basic blueprints that can be used as a starting point for doing this, but the rest is up to you.
The demo contains two scenes:
1. Lvl_CharacterCreator_InGame is the scene where the player creates their character.
2. Lvl_DemoGame is a level which loads the newly created character from the save file.
To run the demo from the start, run Lvl_CharacterCreator_InGame. When you've created a character, click Play. The blueprints will save your character, load the next scene, and then load your character from the save file.
You’ll need to do additional blueprint work to adapt this to your game’s save file format if you already have one.
As a quick summary of how this is set up:
If you open Lvl Demo Game and click Window -> World settings you will see that the Game Mode Override is set to BP DemoGameMode.
BP DemoGameMode defines the default Pawn as BP DemoPlayerPawn
BP Demo Player Pawn loads the save game in LoadConfigFromGameSave to make the character appearance into what the player created when the game is loaded.
It also has some useful methods to change the character appearance in runtime - see the events in the Event Graph.
If you place the BP_UISpawner_InGame blueprint into a scene, it will spawn the in-game character creator including the cameras at the location where you have placed that blueprint. The CameraManager is a variable in WBP_UI_Common if you need to change the camera’s location directly during runtime.
Inside the BP_DemoSaveGame blueprint, the CharacterAppearanceConfig variable stores a map of string field names to values that represents the appearance of the character. This is the data that is used to save and load the character appearance.
In the WBP_UI_Common blueprint the method Load Character in Demo Level has a variable 'Demo Level Name' that changes which level is loaded when you're using the in-game character creator demo.
Adding Xandra Character Creator to your Existing Project (Artstation version only)
These instructions apply if you have downloaded the Artstation ‘.uproject’ version of the Character Creator and you want to migrate it into your existing Unreal Engine project.
It’s important you follow those steps closely or you will encounter issues with textures etc.
Make a backup copy of the target project before starting, in case the migrating process overwrites files you wanted to keep. Without a backup there is no way to recover lost files during migration.
Ensure the target project has enabled the settings requred to use XANDRA characters following the instructions at https://www.xandra3d.com/documents/characters - otherwise there will be issues such as incorrect looking textures on the characters.
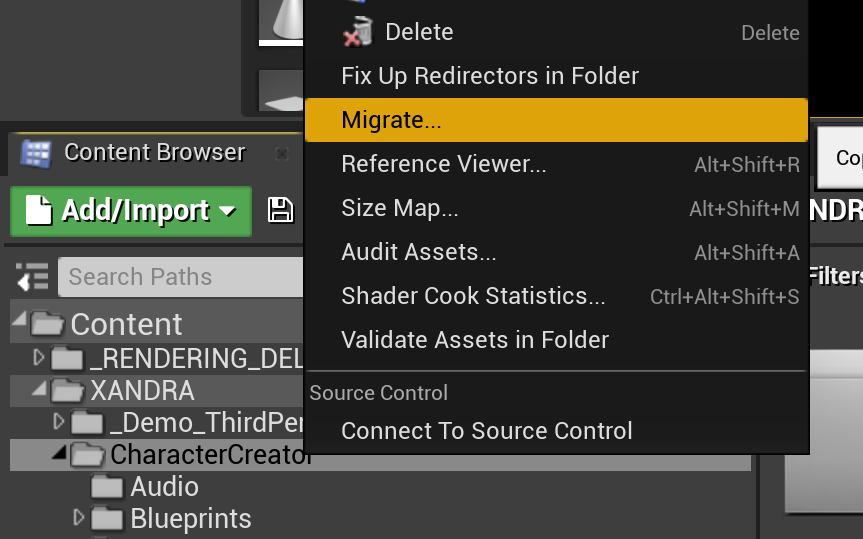
Open the XANDRA Character Creator project in Unreal Engine, the one you downloaded from the Unreal Engine store.
Right click the XANDRA/CharacterCreator folder and select ‘Migrate…’. It will automatically select all referenced textures and meshes outside of this folder as well.
Click OK
Select the Content folder of your target project.
Confirm - but first check you have backed up any files it prompts you to override.
Copy the Plugins folder from Project A to Project B. Check you have backed up any files it prompts you to override.
Open Project B
It may ask you to compile the XANDRA Plugins on launch - click Yes. If it fails, you can copy the pre-built plugins from PluginsBuilds_ForDifferentUEVersions\PluginsBuild<UEVersion> into your Plugins folder, or follow steps in Building the Plugin Yourself.
Confirm the In-Editor Character Creator level can be run.
Building the Plugin Yourself
When building the plugin yourself there are some additional steps to install any missing Visual Studio dependencies.
You do not need to follow these steps if the plugin loads successfully. If it fails to load, the first step (Artstation version) should be to delete the temporary Binaries and Intermediate directories to be rebuilt, and copy the prebuilt plugin in by running installer.bat or manually copying it from PluginsBuilds_ForDifferentUEVersions\PluginsBuild<UEVersion>.
However, you might want to build the plugin yourself if you want to make changes to the C++ code or make it run on an unsupported engine version. To do this:
Follow Epic Games’ instructions for setting up Visual Studio for Unreal Engine
Add a C++ project to your Unreal Engine project by selecting Tools > New C++ Class... (For more info see managing-game-code-in-unreal-engine)
Build the C++ project in Visual Studio by right clicking your project name (XCC) and selecting Build. This will also build the plugin. For more info see compiling-game-projects-in-unreal-engine-using-cplusplus
If it succeeds, the last line should say 'Build: 1 succeeded, 0 failed' and the uproject can be opened. If it failed, there may be more detail if you scroll up in the text. Send us a screenshot of the errors in the 'Output' window if there are any problems and we can help you resolve it.
(Advanced) A Guide to Editing Our Blueprints (*Page Under Construction)
Character Creator Advanced Guide (Under Construction)
Troubleshooting Installation Issues (Artstation)
Most installation issues can be fixed by deleting Intermediate and Binaries and re-installing the character creator. If you are still having issues after this feel free to reach out.
This does not apply to the Unreal Engine Marketplace version which is installed through the Edit -> Plugins window.
To re-install the Xandra Character Creator, reverting it to the original:
Take a backup of your project in case something goes wrong or you have made changes to the system that you want to re-apply afterwards - you will be deleting files.
Remove the Intermediate and Binaries folders from your main project. These build files will be re-generated when you next launch the project.
Remove the XandraCharCreator plugin from your Plugins directory (including the Binaries and Intermediates here)
Remove the XANDRA folder from your Content folder. (Take care if you have made changes not to lose them!)
Follow Adding Xandra Character Creator to your Existing Project again to re-import the character creator.
Once you have confirmed it’s working, re-apply any changes you had made previously made on top of that fresh install.
FAQ/Fixes for Common Issues
Why can’t I select the character I just created in my blueprint?
Ensure character file names do not contain any spaces or special characters.
Go to CustomCharacterFiles directory, rename your custom character file to something else, then try again.
Ensure you are creating your character in the In-Editor character creator scene.
I can't create and use custom characters, or I'm seeing crashes
Ensure that the E_CharsDynamic enum is not moved from its original directory. It must be in that location for the code to work.
Ensure that the installation steps have been followed correctly, particularly to install the code Plugin.
If you’ve made any changes to the Character Creator blueprints or code - check if you can still open the original version to see if your changes result in the issue.
How do I change the character appearance manually in-game – for example if my player equips a new armor that's not selectable in the character creator?
To set the meshes directly, you can get the mesh e.g. Torso and call SetSkeletalMesh. As an example of this, in the char creator in game demo when you press O the character equips an outfit. These changes will not persist to save file.
What about changing the player appearance so that it persists in the save file – like changing hair color or face shape?
To set the appearance directly, call the SetXXFieldAndReloadCharacter methods in the BP_XANDRACustomChar blueprint. As an example of this, in the char creator in game demo when you press P the character changes hair colour.
Why is my custom character no longer showing correctly?
The character save file only contains a map of field names (e.g. ‘Hair’) to data table row names - the meshes etc. are stored within your unreal engine data tables.
As such, ensure that Row Names are not changed once set (as it will invalidate existing characters), and be aware that editing or removing any wardrobe items in the data tables will affect existing characters.
Why is my new wardrobe item not showing in the UI?
Ensure that display names are unique.
I get a crash or ‘corrupt data found’ error when opening a scene or blueprints
Follow the migration steps again - make sure you have copied the Plugins folder in particular, as this error happens when a C++ class is missing or renamed.
How do I get the “In-Game” Player Character Creator example to do X/Y/Z?
Unlike the main system, the “In-Game” Character Creator example is just a proof of concept demo - it provides some basic blueprints that can be used as a starting point, but the rest is up to you
The blueprints are not compiling.
In the Artstation version, the code plugin contains supporting classes that are used by the blueprints. If the code plugin is missing (located in the Plugins directory of your project) or has not been built correctly, then the blueprints will not compile. If you re-install the plugin with Troubleshooting Installation Issues (Artstation) steps it should resolve the issue, otherwise please reach out for support.
The FAQ didn’t answer my question.
Please send us a message via this form, and we’ll respond within 1-3 business days.
The Xandra Character Creator was made in collaboration by 3D Artist Xandra and programmer Elizeon